Chalk paint · Furniture Painting · furniture prep · Uncategorized · Vintage store

Painting slick surfaces

Nothing like having small cold weather inside projects to fall back on 😅

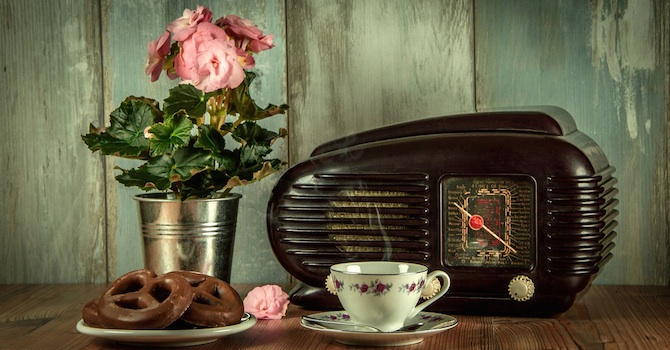
I’ve had this old Lincolnware bread box in the shop and it’s obvious ( this) green isn’t the current trendy retro color.

The before. Lovely avocado 🥑 green.


Bold oranges, reds, and yellows are popular ( yes those 70s)

And pretty soft colors of 50-60s definitely are ( think pinks, soft blue, mint green, pale yellow or even crisp red and white)

So on that note, this is getting a fresh retro color added to it. 😁

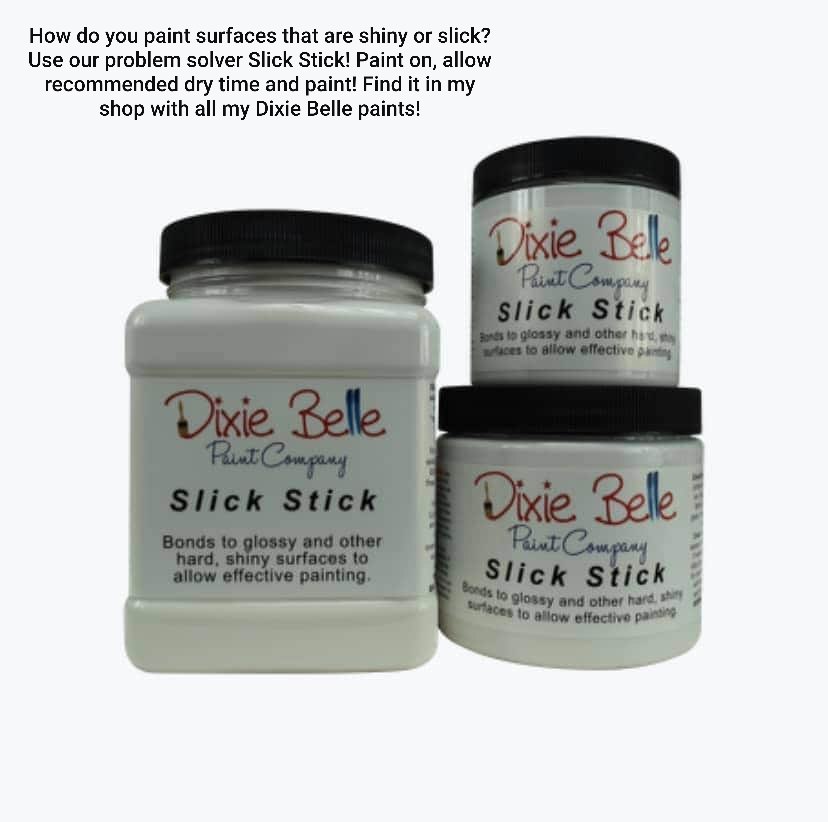
If you are ever wanting to paint metal, glass, plastic, shiny surfaces or shiny factory finish on furniture you need Slick Stick!

Slick Stick comes in 3 sizes


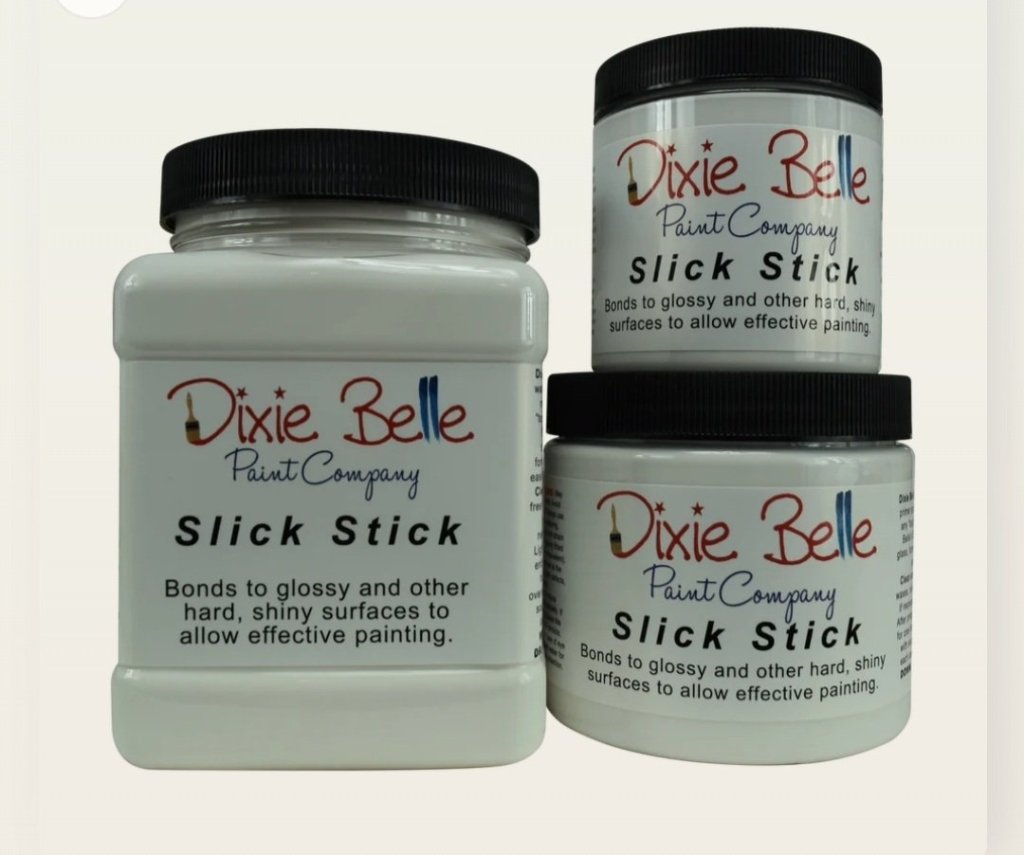
This is basically a gripping product for your paint to adhere well to.

I was chatting with a customer yesterday while I worked. She asked me about paint classes as her first piece she had done didn’t go well, that the paint had just “peeled off”

Now when someone tells me that my first question is did you clean it well? If you do nothing else, the few minutes it takes to clean with our White lighting to get grease, dirt, etc off and have a clean slate is invaluable.

It’s also a good deglosser, among other things.


I then asked her if it had a shiny factory finish…her faced answered the question.

A shiny factory finish has nothing for the paint to “latch on to” therefore, it will be very susceptible to that peeling problem.

I discussed slick stick with her and hopefully that helps her in the future.

You can get slick stick ( and other problem solvers) in my Shades of Yesterday shop inside the Corner Cartel 265 S Main St Boerne, look for my Dixie Belle banner hanging up when you come in!

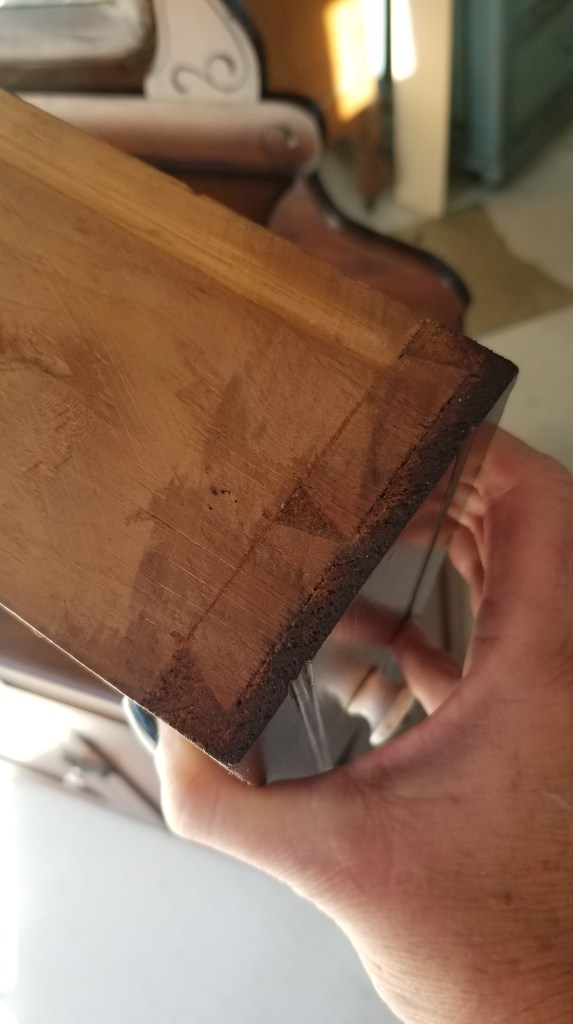
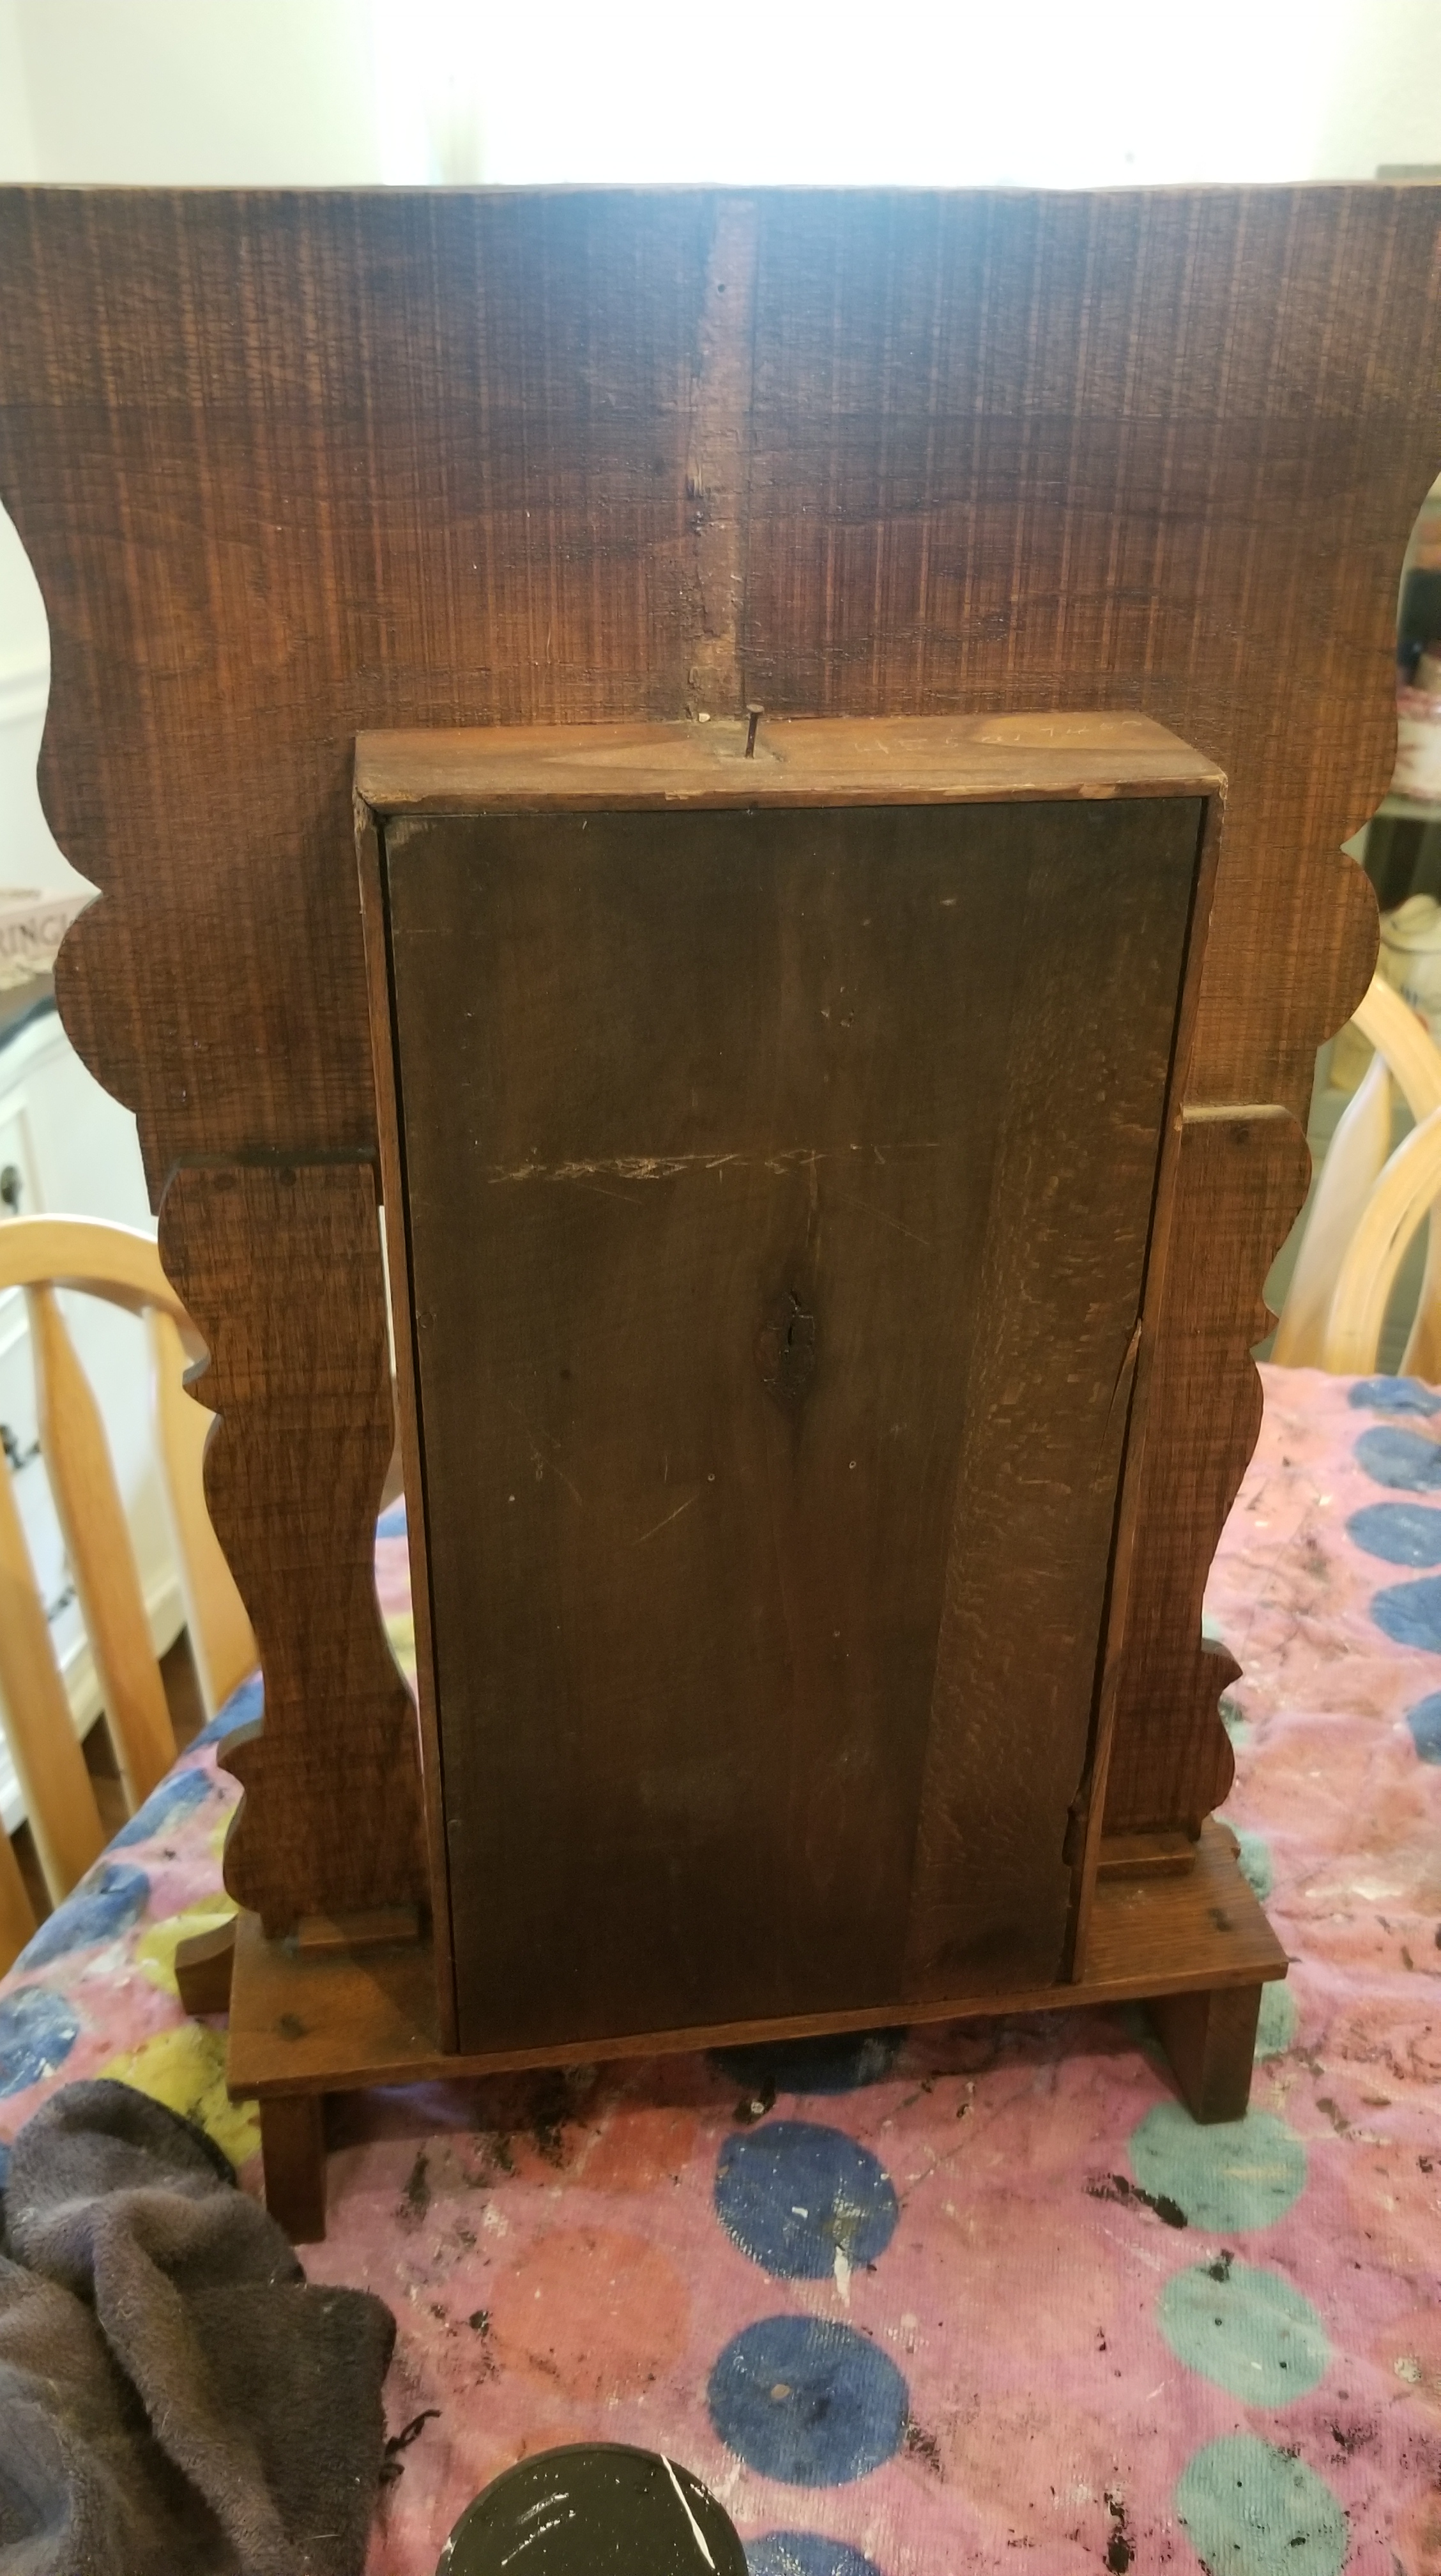
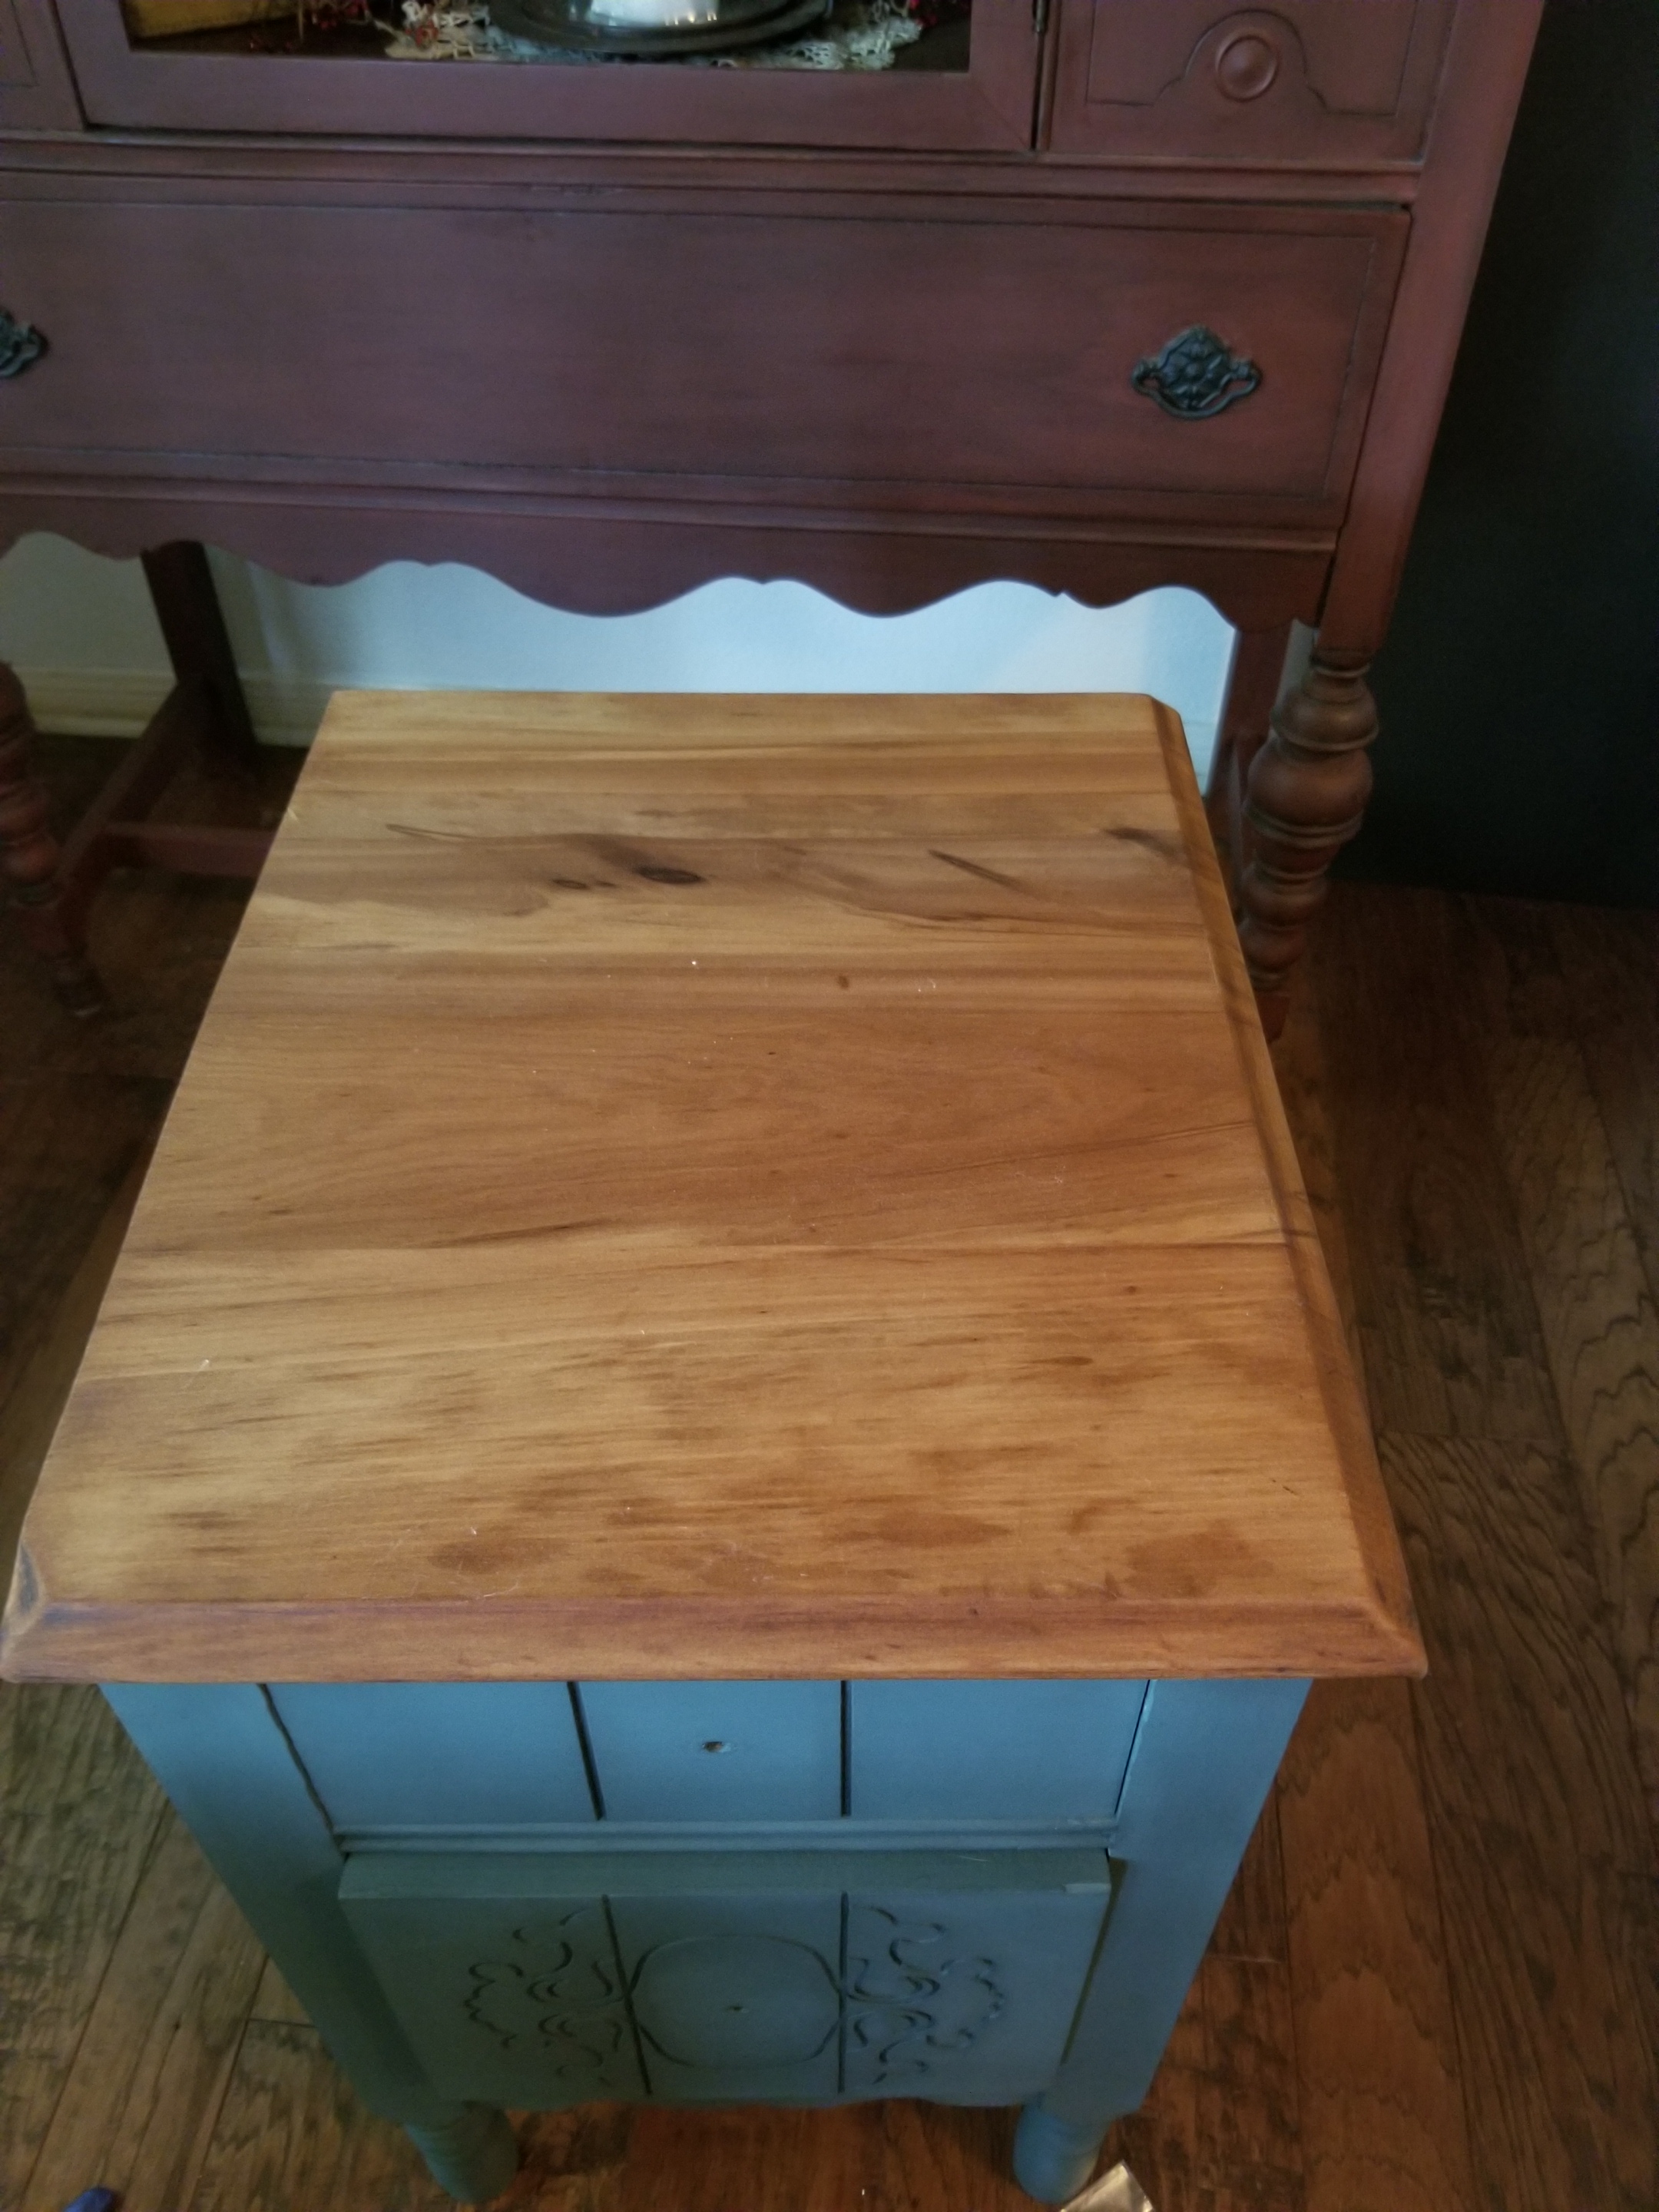
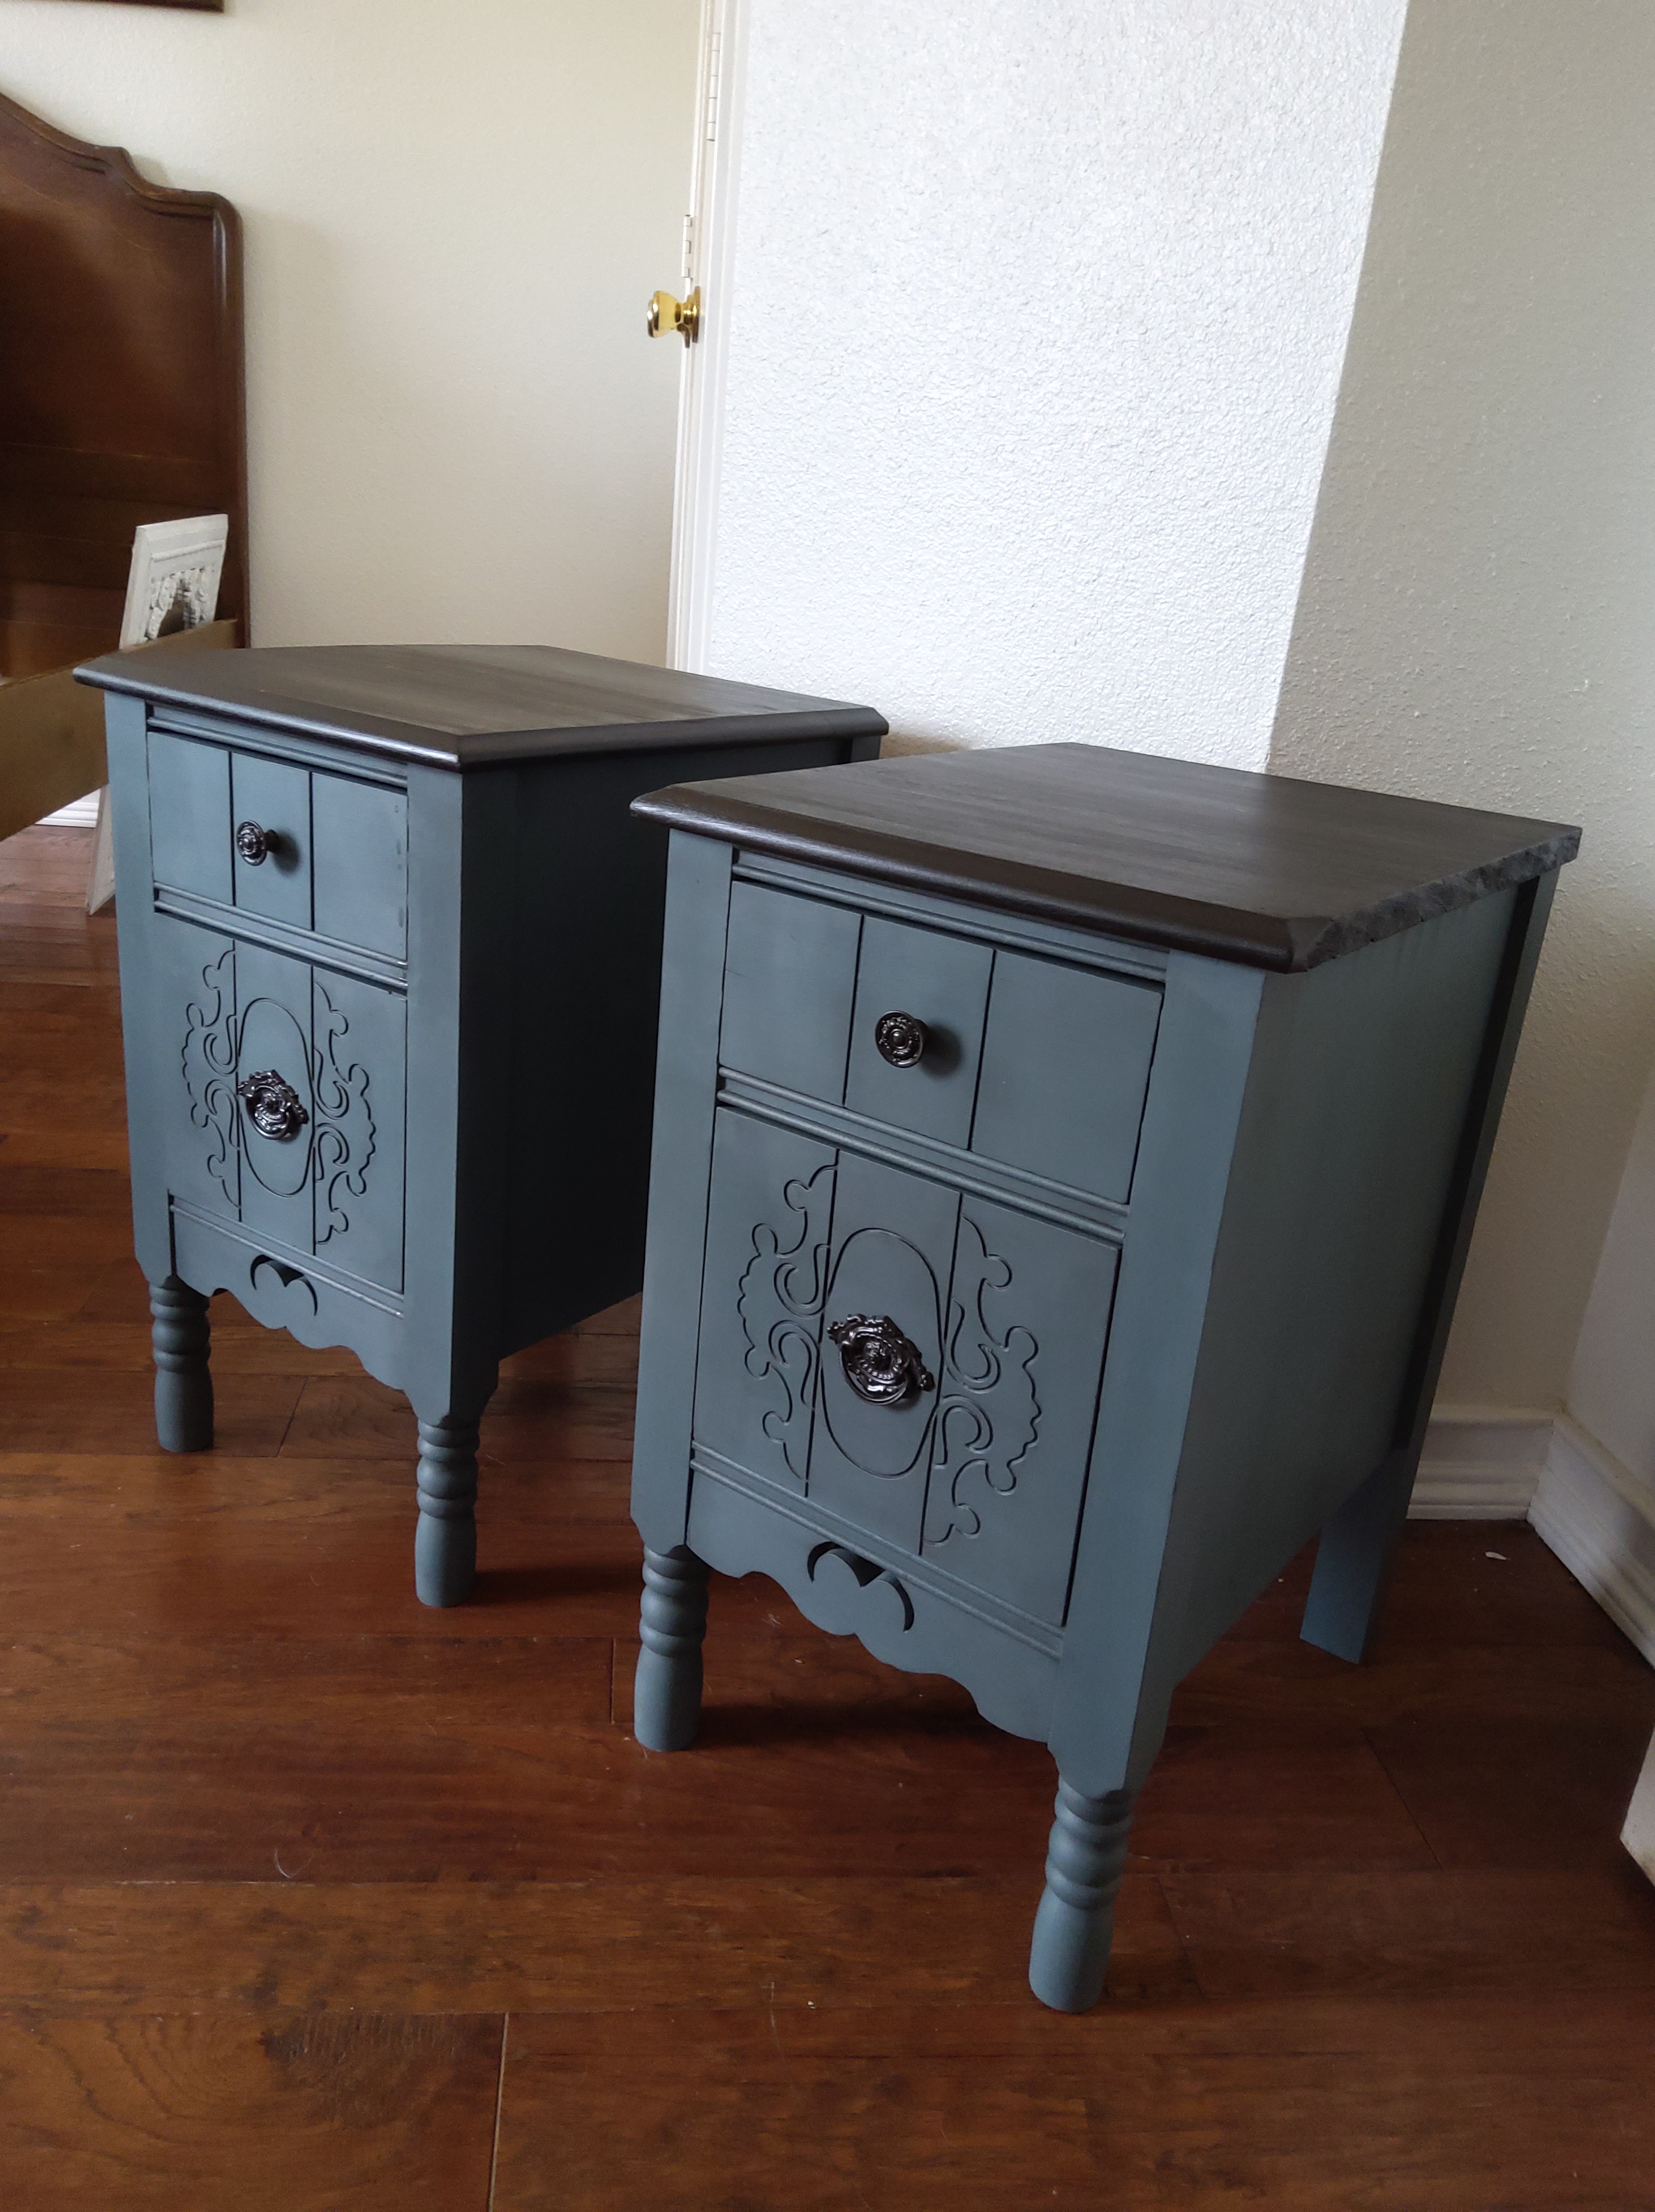
Now….the old bread box. It has one coat. I let it dry well and applied a second coat.

One coat applied over the metal box
And the finished product. Isn’t it cute? ❤️


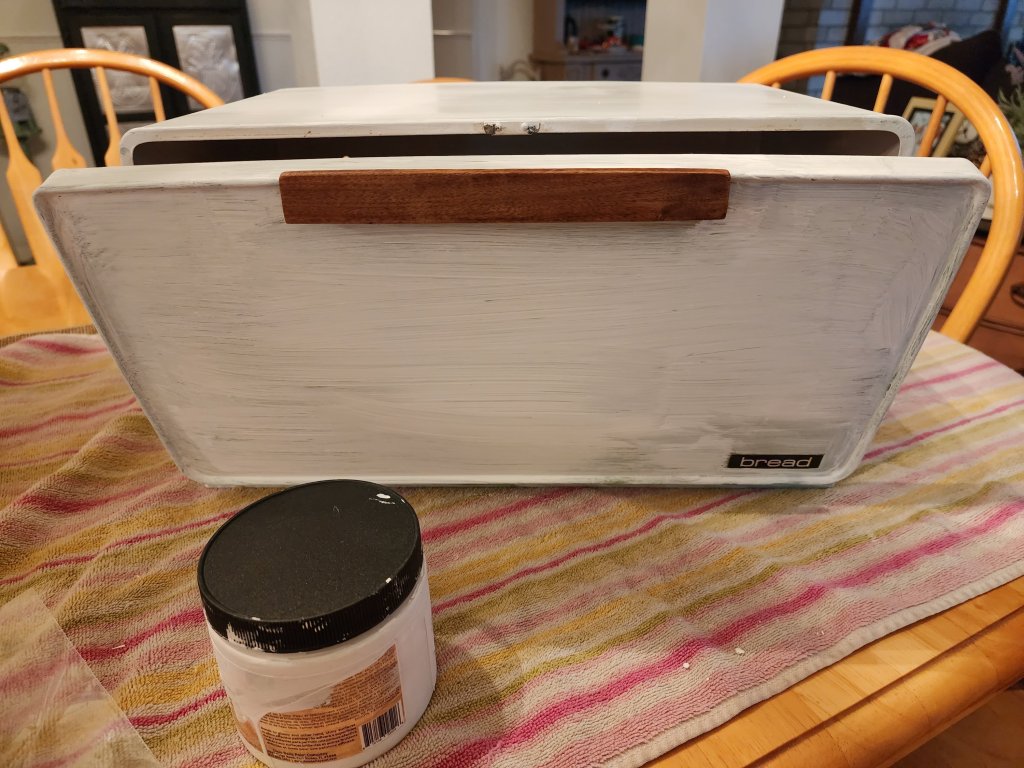
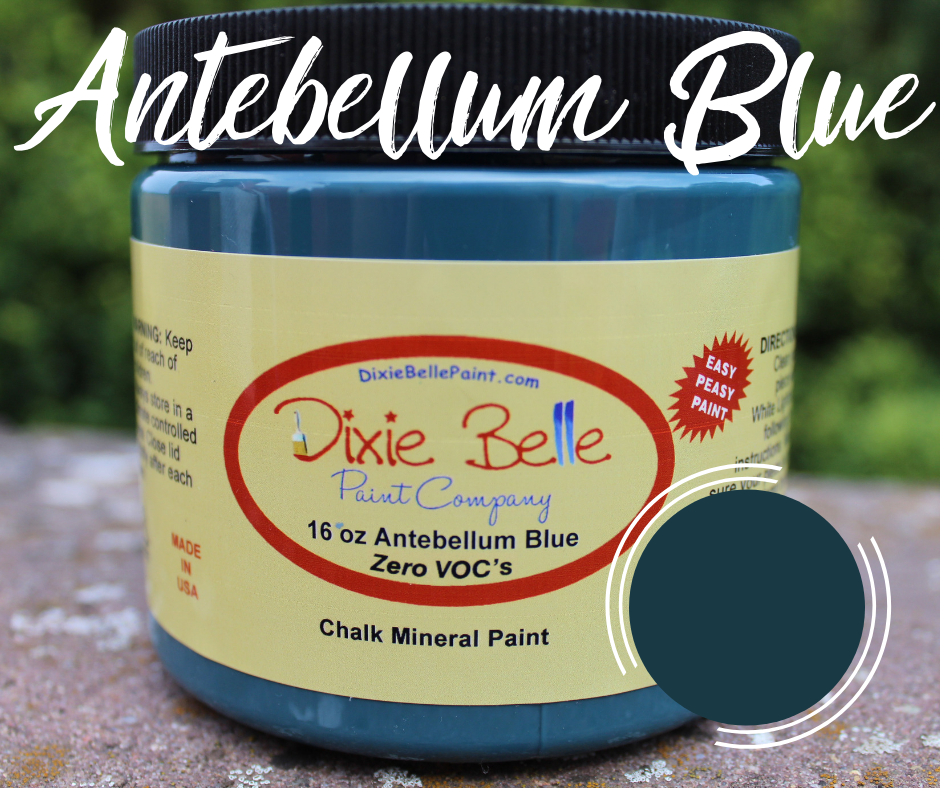
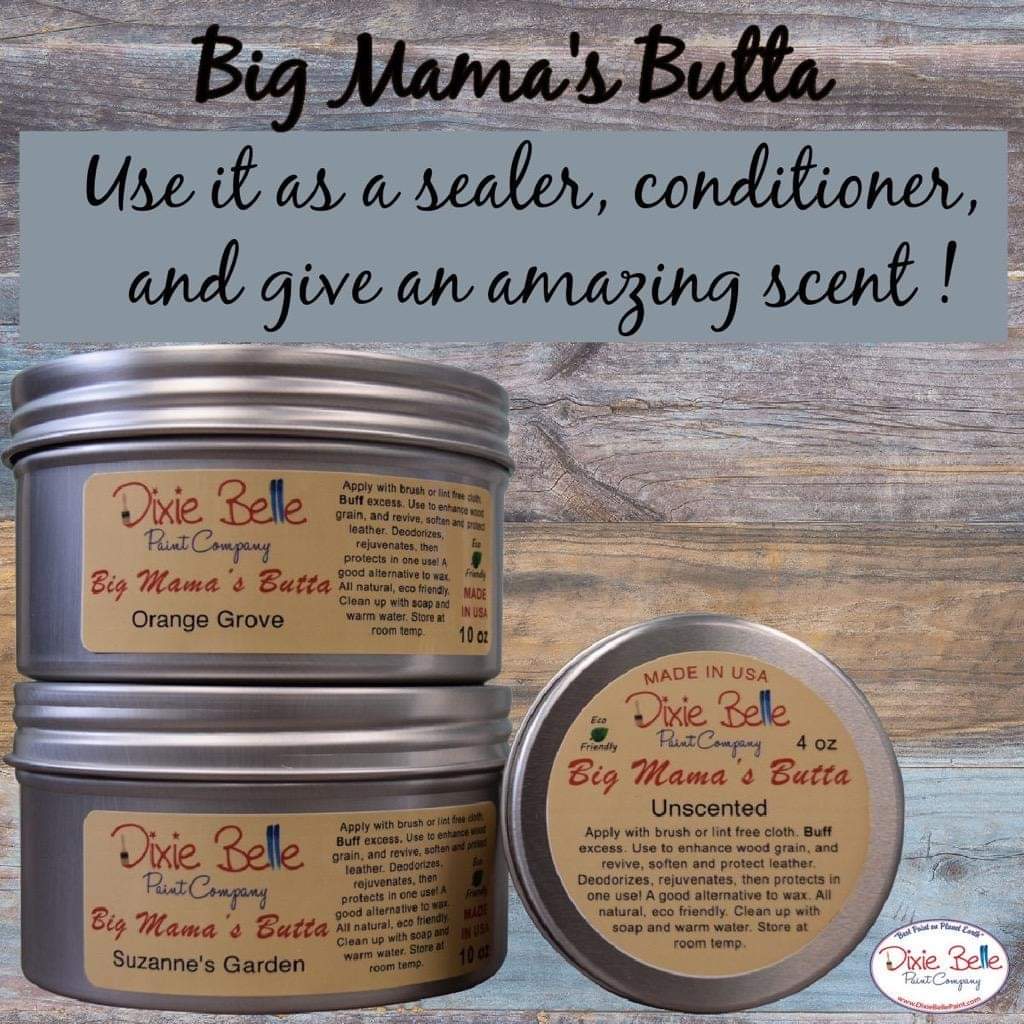
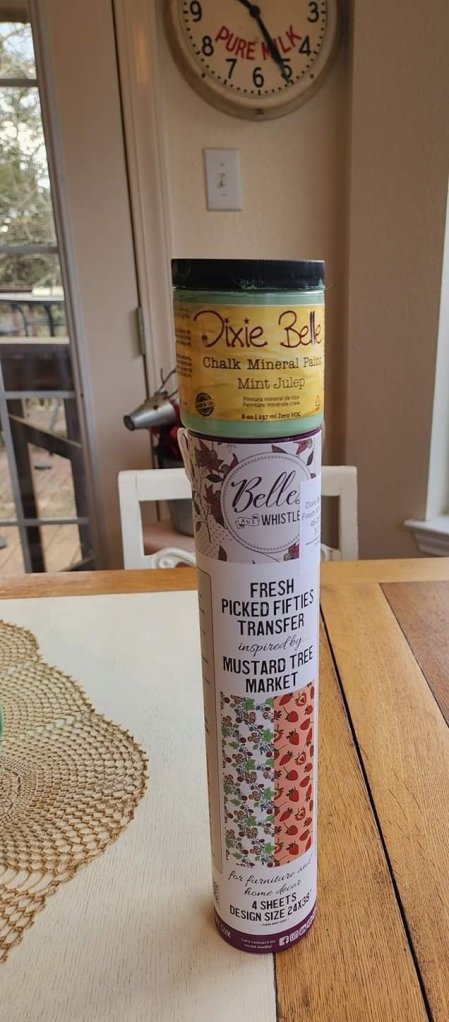
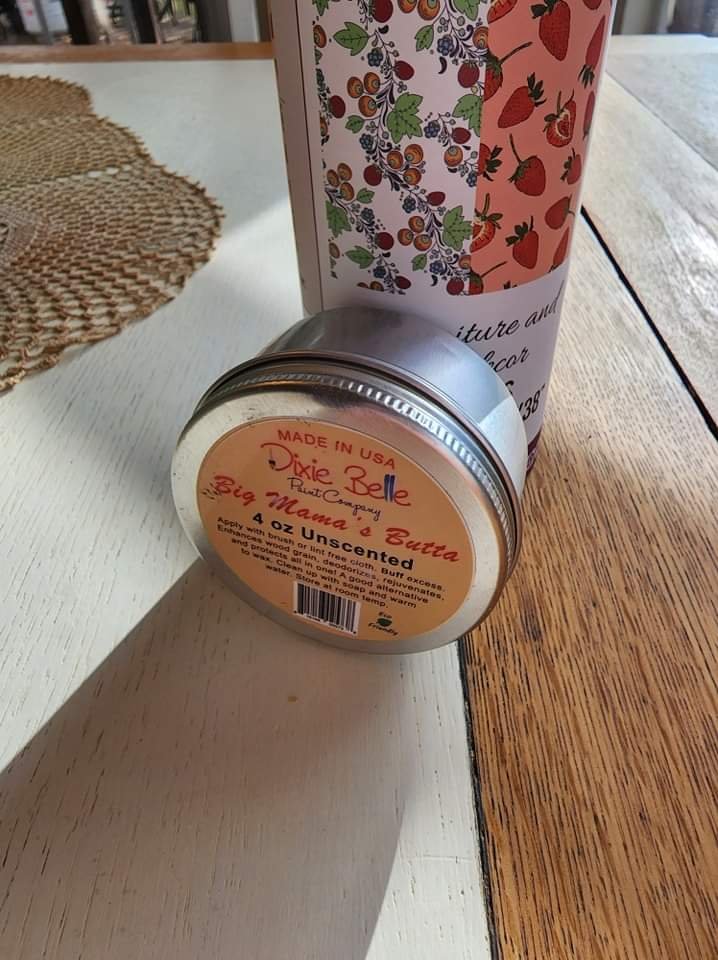
Products used for this are: Slick Stick, Mint Julep paint, Fresh Fifties transfer, Flat clear coat, and Big Mama’s Butta for wood handle and inside door.

All Dixie Belle products are available in my Shades of Yesterday shop inside the Corner Cartel 265 S Main St Boerne


#shadesofyesterday #vintagestore #vintageshop #dixiebellepaintretailer #dixiebellepaint #paintedfurniture #vintagestyle #proudtobeadixiebelleretailer #eliteretailer #BestPaintOnPlanetEarth #dixiebellepaintcompany #vintagekitchen #shoplocal

Vintage furniture · Vintage store

Antique furniture and Dovetailed drawers

When I started getting more involved in my old furniture flipping business a few years ago, I made it a point to be a quick study on some of the obvious things I needed to know about it.

Therefore, I did some reading, but more importantly, I just started studying pieces I got. I took drawers out. I looked at how it was built. I studied the woods used. I tried to store in my head periods of furniture ( yikes there’s so much!)

An old man I had talked to said the more I knew what the authentic old stuff looked like, the better I would be at recognizing it.

This included one key factor in trying to assess the age of a piece. Studying the drawers, the side where pieces join together often called dovetail. It is so called because of how it looks like a tail or peg fitted in. This makes for tight drawer corners.

Dovetailed drawers have been around a long time. The dovetail machine made its debut in 1865 to help the rapidly growing furniture industry.

Dovetailed machines offered precise, exact cuts and spacing and made the drawer process move faster.

A neat and exact dovetailed drawer

Prior to that, the dovetailing was hand done, with the pencil and carpentry marks still visible ( it’s so exciting to find pieces like that!) Mostly though, the majority of drawers you find dovetailed will be neat and precise from a machine.

Of course hand detailing was still done as well and even today skilled carpenters do it.

Don’t let someone sell you on a piece as old by this alone. Even more modern day furniture can have drawers that are dovetailed.

I recently bought a cute old wash cabinet. The size and style made me want it, but also the fact it was a nice old piece definitely sold me.

I had planned to clean it up, refresh it with a little gel stain, and leave it in its old natural state.

I was so happy when a customer claimed it and was ok with what I had planned for it.

But here’s what I want you to see. This piece is old enough to have the hand carved dovetailed drawers! I oiled the wood admiring the old craftsmanship of them.

See the wide pegs and cut marks? Beautiful, glorious hand cut dovetail ❤
Inside drawer you can see cut marks
Drawers were a basic box, the back piece just cut and inset with a piece of wood.
And they weren’t to concerned about the precession of cuts in the back

Looking at drawer structure is just one way to help determine an age of a piece. Again there are many factors….style, wood, design, casters etc

I hope this quick tip on dovetailed drawers gives you a little insight when shopping for antique or vintage pieces. 😊

Chalk paint · Furniture Painting · Uncategorized · Vintage furniture

Making Your Own Specialty Wax

I had a good customer drop off a piece to me, an antique clock, that had been in her family for years for some custom work.

Nothing is prettier than old clocks with such details

When asked how I was to do it I was told white and pink.

Pink? I clarified that and she told me it would go in a cottage she was doing in pastels. Well ok then, pink it is!

First the clock got cleaned with Dixie Belle’s White Lightening cleaner. Once dry, I painted it with two heavy coats of our chalk mineral paint in Cotton. This is our purest bright white.

The clock looks like it’s photo bombing 😜 you can see it all pretty and white

Once the paint dried I lightly sanded it with our sanding pad to give it a smooth feel. I then applied our Best Dang Wax in clear working in, especially to the details. Once on I buffed well with a clean t shirt rag. Wax is one of several top coats you can use with our paint if you wish to seal your piece. Our paint fully cures in 30 days and no sealer is required but many prefer to add top coat for extra durability.

So why the pink paint?

Do you know besides our regular wax colors of brown, grunge gray, white, black and clear, that you can make your own specialty colored wax? Tis true!

Hmmmm, how is this accomplished?

Take a small amount of clear wax, add only a couple drops of desired Dixie Belle paint into wax and stir well with a plastic knife or popsicle stick…anything works as long as you blend in the paint well with the wax. Then brush on, use a rag etc to apply your special wax and wipe back excess. I used clear wax and a few drops of Dixie Belle’s Soft Pink to make a gorgeous wax that I worked into all of the details on the clock.

Pretty in pink!

I then used a clean rag to buff the wax making sure color was worked into all the delicious details.

And the finished product at home…

How soothing are all of these soft colors?

Find all Dixie Belle products, including waxes, in my Shades of Yesterday shop inside the Corner Cartel 265 S Main St. in Boerne.

Feel free to reach out to me if I can be of help with your paint projects!

Chalk paint · furniture prep · Uncategorized

Top Coats and Sealers

In the process of painting furniture there are various steps to take in the process:

First, the cleaning, repairing and prepping.

Use Dixie Belle white lightning to clean your piece.

Follow up with Boss or Slick Stick ( only if needed)

Paint in your desired Dixie Belle color.

I adore this color!

After paint has dried well, lightly sand finish with our sanding pad or 220 grit sand paper. Remove dust with a clean cloth.

Top coats and other sealers

After painting, you can leave as is if you desire. Dixie Belle will fully cure in 30 days.

Most people usually like to apply a final coat in wax or poly clear.

I have several options available in my shop.

Clear coat poly, comes in gloss, satin and flat. Apply with brush or our blue sponge!

I also have Gator Hide which is our most durable and waterproof clear finish. Great for table tops and outdoor furniture.

Waxes

I love waxing pieces. There is something so rich and smooth with the finish. You can apply wax with a brush ( I love our Belle brush for waxing) or a lint free rag. Apply a small amount and work into paint, buff well.

We carry waxes in clear, black, brown, white and grunge gray ( my fav)

Note: no matter what you choose poly or wax, if you want to use darker colors, always put your clear on first, then apply dark colors! It makes it much easier to move the darker waxes or glazes around on your piece. Trust me 😄

And we have spray wax! Shake well, lightly spray small areas at a time, buff in with clean cloth, cures in 6 hours. Repeat as needed. Easy Peasy!

I hope this mini tutorial helps you in deciding how to finish off your projects. Feel free to contact me for further help!

As a Premier Dixie Belle retailer you can find these products and more in my shop, 265 S Main St Boerne.

Need it shipped? I can do that too!

Happy painting 😊

Chalk paint · Uncategorized · Vintage furniture

Dixie Belles “Big Mama’s Butta”

It’s no secret that Dixie Belle has tons of amazing paint colors, but we also have lots of other products to make your furniture look beautiful.

I thought I’d share about one of our finishing products in this post, Big Mama’s Butta.

Funny name, but powerful product.

Butta comes in two scents, Suzanne’s Garden and Orange Grove ( my favorite!) It also comes unscented. If you’re into essential oils you can add a few drops to the unscented.

What’s in the secret sauce?

Butta contains hemp oil, coconut oil, beeswax, and carnauba wax.

How do you use it? What’s its purpose?

I use it inside furniture as a final touch on finishing a piece. Apply with a soft rag and work on drawers and runners for smooth sliding, use inside drawers themselves to bring a fresh luster to wood. The orange smells amazing inside a finished piece.

Use it on a beautiful wood piece you don’t want to paint to renew the wood. I bought a gorgeous antique cabinet a few months ago, the wood was gorgeous and I knew I wouldn’t paint it.

This was my first piece to use it on and wow, I was hooked! My daughter in law came by later and asked if I had used our “no pain gel stain ” on it. The difference was that drastic.

Before

After

That’s not all….

You can use as a sealer after your paint has dried well. Apply with a lint free cloth, buff after application. Cures after 7 days.

But wait, there’s more!

What if I told you it renewed and restored leather?

Oh yes it does.

Recently my daughter in law sent me a photo of some gorgeous Italian leather boots she had scored at the thrift store with the question, “can I use the gel stain on these?” ( I’ve seriously got her hooked on the stuff! 😃)

I told her no, but I did have another product she could use. She had already bought some butta so I instructed her to use it on the boots.

You can see results below, the boot on left is before.

And a closer look….

Can you say wow??? 🤩

So there you go. Big Mama’s Butta can not only get those tight drawers running smooth, refresh old tired wood, cover old odors, and seal your piece after painting, it can also refresh and renew tired and worn leather.

Comes in 4 and 10 oz sizes, Orange Grove, Suzanne’s Garden and Unscented.

Find this product and all my other Dixie Belle products at my Shades of Yesterday shop inside the Corner Cartel, 265 S Main St in Boerne.

furniture prep · Uncategorized · Vintage furniture

Prepping And Painting

I often get asked if sanding is required before painting with our chalk mineral paint.

My response always is, “the better your prep, the better your finished piece will look”

Technically, no you don’t really have to do much, just clean and go.

However, depending on the condition of your piece, will largely determine how little or much sanding is involved.

What do people exactly have in mind when they ask about sanding?

Usually hours of painstaking labor taking the finish back to original wood.

No. There is absolutely no need unless you want to. I’ve often sanded top surfaces back if I want to stain and have natural wood grain showing.

Top sanded for gel stain

For me sanding looks like this:

If the piece is in good condition and the surface is even, it usually gets a light buffing to just rough the surface. I then clean well and paint.

Since I deal with lots of really old furniture the varnish is usually rough and flaking. It doesn’t take much to sand it off as it comes off easily. Again, I work off the old varnish to get a smooth even surface. Not all areas may require it.

These old beauties got sanded quite a bit because of the old finish

At times I’ve gone back and sanded in areas after painting because I can see the uneven marks from varnish underneath. It makes me crazy to see a piece somewhere that’s been painted and obviously painted over a previous uneven finish.

Good prep work gives you a much more beautiful finished piece.

We all want to get to the fun part, painting. And prep isn’t always the most fun, but it is necessary.

If you’re using Dixie Belle products your steps would look like this:

Assess piece for repairs and sanding needs.

After sanding, clean well with our White Lightning cleaner. This removes dirt, grime, dust etc. Wash with clean water after.

Let dry well.

Use one of our problem solvers if necessary.

Boss will block stains and odors, our Slick Stick is good for shiny surfaces to help paint adhere well.

Follow directions if you use one of these products.

Once dry, the fun part, painting!

A little prep will go a long way in a piece that you will be proud of when you are done!

Finished product!

These night stands were painted in Dixie Belles “Stormy Seas”, the top received two coats of our No Pain Gel Stain in “Colonial Black ” , top was sealed with Satin finish and the body was clear waxed and then I played with details with black wax.