Chalk paint · Furniture Painting · furniture prep · Uncategorized

To Sand or Not To Sand

In the world of painting and revamping furniture there are more than a few people who think sanding on furniture is a dirty word. I wanted to chat about when and why we would do sanding before painting or staining.

Do I sand it??? 😬

Prep is everything

Listen,  there are lots of companies out there offering paint products. Some of them openly tout you can basically just paint your piece without any prep work, no sanding, no cleaning, no nothing.  Just paint.

Hmmmm ok.

I mean you can with Dixie Belle too but the question to be asked is what do you want your finished piece to look like? I can see a poorly prepped piece from a mile away. ( it’s a job hazard, studying other painted furniture 🧐) the obvious awful look is painted over broken, chipped veneer or finishes that were rough and uneven ( like previous paint. Latex is the worst) It sticks out like a sore thumb.

When to sand

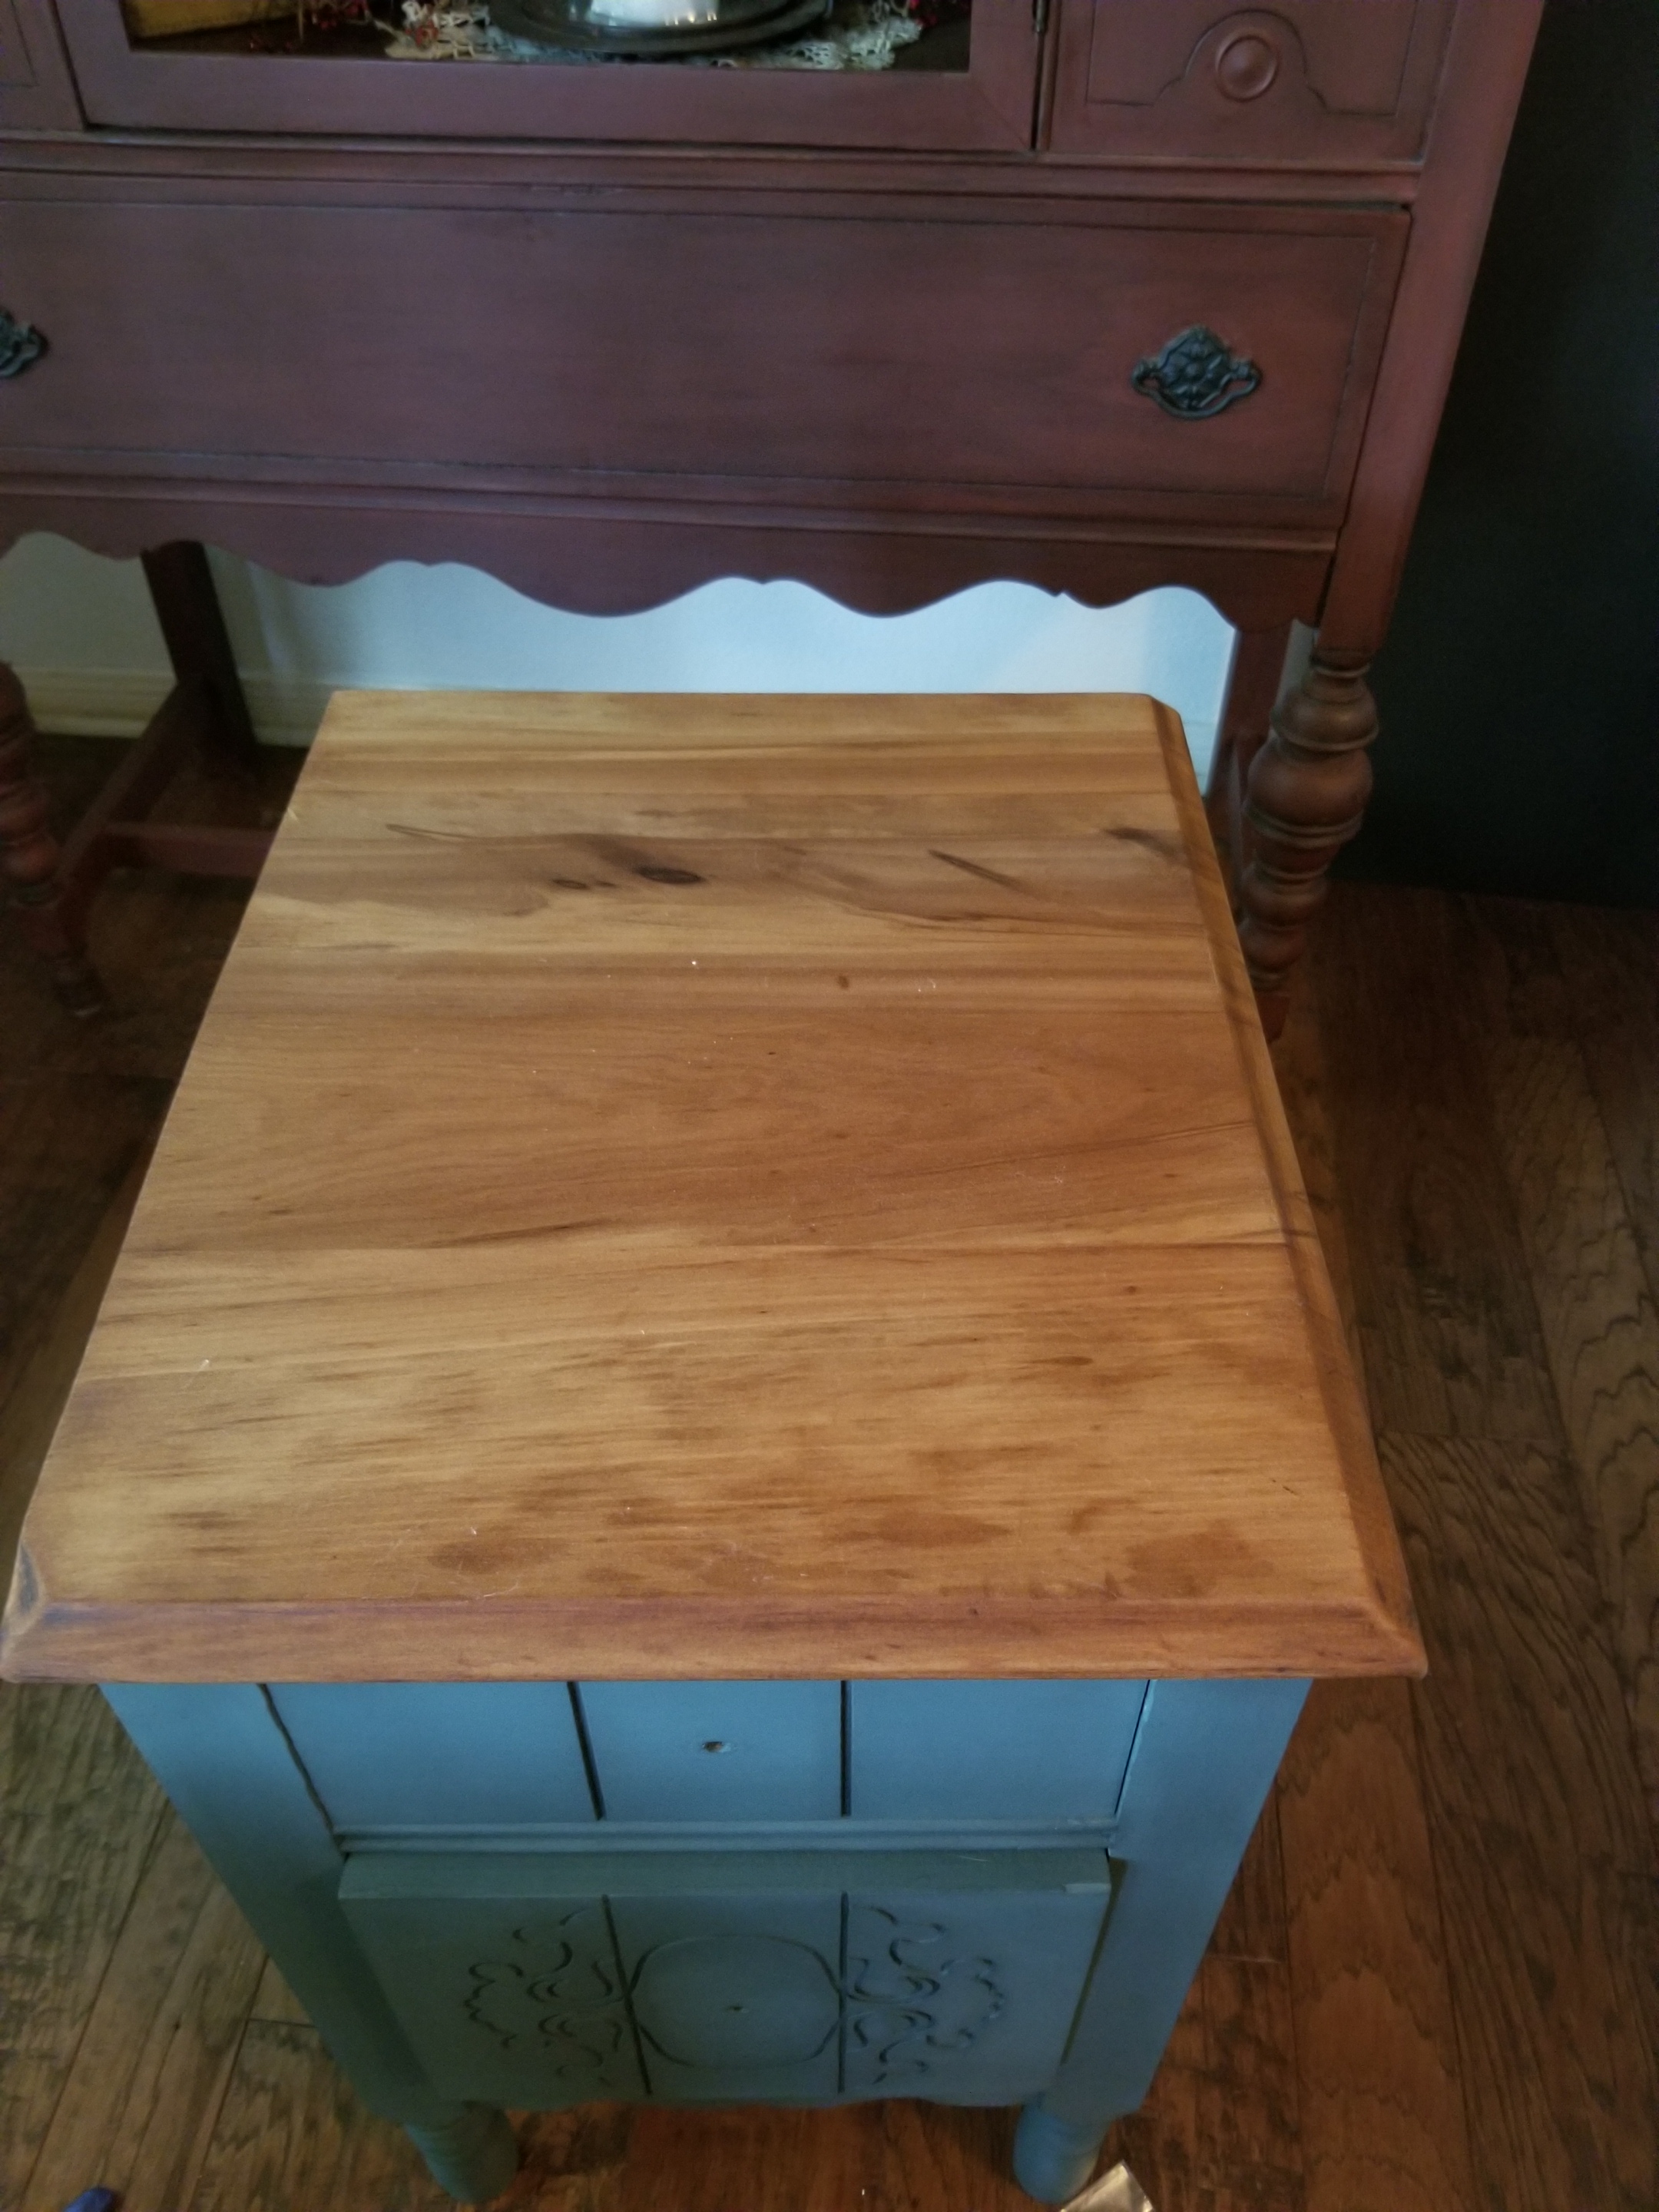
For the sake of this article, the term “sanding” does not mean grinding away for hours to take everything off back to the original wood.  What it does mean is preparing your piece by sanding off uneven varnish or previous paint. This can often be accomplished by hand with a medium grit sand paper. Your goal is to have a smooth finish to work on.

The old green paint on this cafe chair easily scuffed off with that small piece of sandpaper in a few minutes.  It wasn’t my goal to hit wood, but the paint was so flakey it was easy to sand off. You don’t want flakey varnish or paint on a piece before painting.
Here’s the chair with about 10 minutes work. I will not try to get all of the paint removed. What is left isn’t loose or flaking now. The one on left is it’s partner πŸ˜…

Note it isn’t necessary to make all the paint go away. The idea is that anything loose or flaking is lifted off.

You can’t tell from the photo but the finish on this old drum table just lifts off. I scraped that area with my nail. It will get a light scuff sanding before I paint.  I don’t want that loose finish under my paint.

Once I’ve sanded areas that need attention ( note,Β  the entire piece won’t always need to be sanded, it could be just problem areas) I will wash and clean it. First it will get washed down with our white lightening to remove dust, dirt and grime. This will often lift any other loose substances and it also deglosses. The piece gets a finalΒ  wash with clean water. Once it dries well I can move on to the fun part, painting!

When you don’t need to sand

I get plenty of pieces that are in good shape and just need cleaned and then painted.  The surface is smooth and stable. 

This is an old dresser. You can see the wood looks nice, smooth, no chips or flaking varnish. I can clean this and proceed with painting or staining.  There is no need for me to sand.
This piece is smooth and clean.  No need to sand.  It does have a shiny factory finish so I will use our Slick Stick on it before painting.  This is basically a gripper for paint on shiny or smooth surface.
This piece was so poorly painted it would just get a quick, light all over scuff sanding ( a sanding block works great) then throughly cleaned. Scuff sanding and cleaning will take me 5-10 minutes.

In conclusion

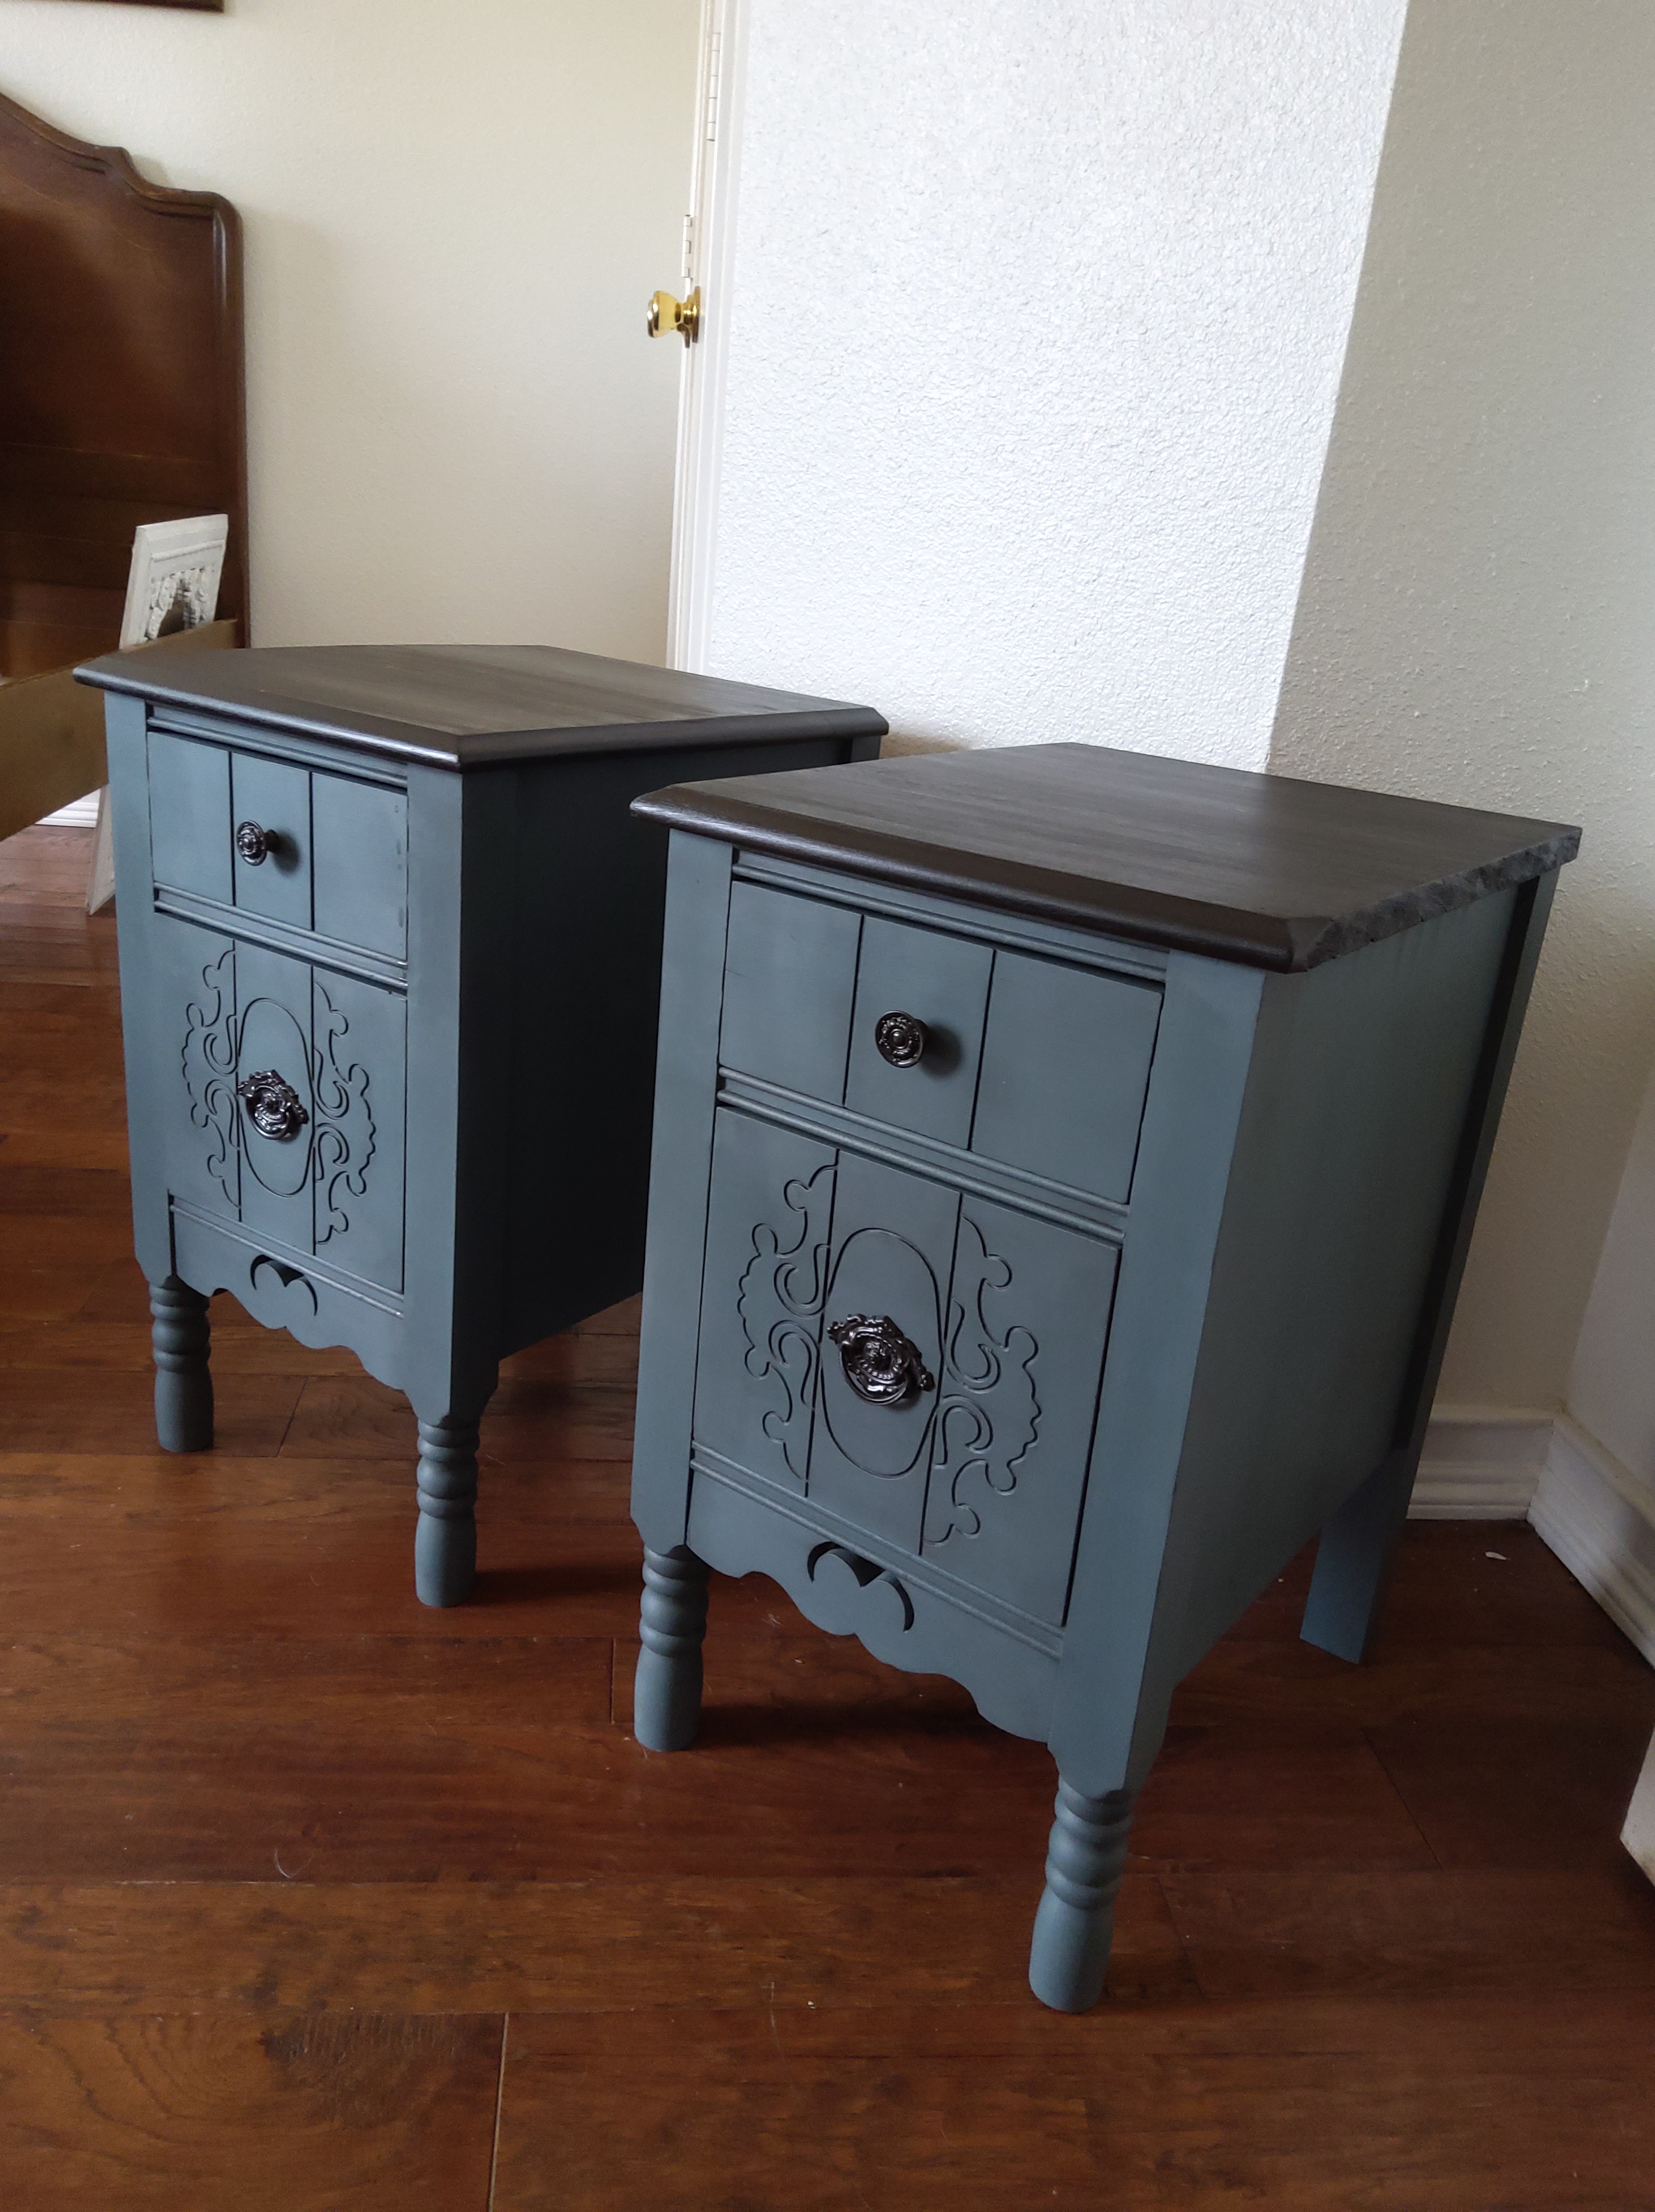
You don’t have to sand if you use Dixie Belle ( if we want to use that as an argument for painting) however, you have to decide what you want your final product to look like when you’re done.

When we say “sand” it means to assess your piece for visible flaws that would show under your paint job. Sanding will smooth or remove those areas. It does not mean sanding entire piece down to bare wood. Prep is the essential work for nice end results. It really comes down to what you want to put into it.

I hope this posts helps you understand a bit better on when to do some sanding ( or not) on your project. If you have questions feel free to reach out, I’m happy to help!

furniture prep · Uncategorized · Vintage furniture

Prepping And Painting

I often get asked if sanding is required before painting with our chalk mineral paint.

My response always is, “the better your prep, the better your finished piece will look”

Technically, no you don’t really have to do much, just clean and go.

However, depending on the condition of your piece, will largely determine how little or much sanding is involved.

What do people exactly have in mind when they ask about sanding?

Usually hours of painstaking labor taking the finish back to original wood.

No. There is absolutely no need unless you want to. I’ve often sanded top surfaces back if I want to stain and have natural wood grain showing.

Top sanded for gel stain

For me sanding looks like this:

If the piece is in good condition and the surface is even, it usually gets a light buffing to just rough the surface. I then clean well and paint.

Since I deal with lots of really old furniture the varnish is usually rough and flaking. It doesn’t take much to sand it off as it comes off easily. Again, I work off the old varnish to get a smooth even surface. Not all areas may require it.

These old beauties got sanded quite a bit because of the old finish

At times I’ve gone back and sanded in areas after painting because I can see the uneven marks from varnish underneath. It makes me crazy to see a piece somewhere that’s been painted and obviously painted over a previous uneven finish.

Good prep work gives you a much more beautiful finished piece.

We all want to get to the fun part, painting. And prep isn’t always the most fun, but it is necessary.

If you’re using Dixie Belle products your steps would look like this:

Assess piece for repairs and sanding needs.

After sanding, clean well with our White Lightning cleaner. This removes dirt, grime, dust etc. Wash with clean water after.

Let dry well.

Use one of our problem solvers if necessary.

Boss will block stains and odors, our Slick Stick is good for shiny surfaces to help paint adhere well.

Follow directions if you use one of these products.

Once dry, the fun part, painting!

A little prep will go a long way in a piece that you will be proud of when you are done!

Finished product!

These night stands were painted in Dixie Belles “Stormy Seas”, the top received two coats of our No Pain Gel Stain in “Colonial Black ” , top was sealed with Satin finish and the body was clear waxed and then I played with details with black wax.