
I often get asked if sanding is required before painting with our chalk mineral paint.
My response always is, “the better your prep, the better your finished piece will look”
Technically, no you don’t really have to do much, just clean and go.
However, depending on the condition of your piece, will largely determine how little or much sanding is involved.
What do people exactly have in mind when they ask about sanding?
Usually hours of painstaking labor taking the finish back to original wood.
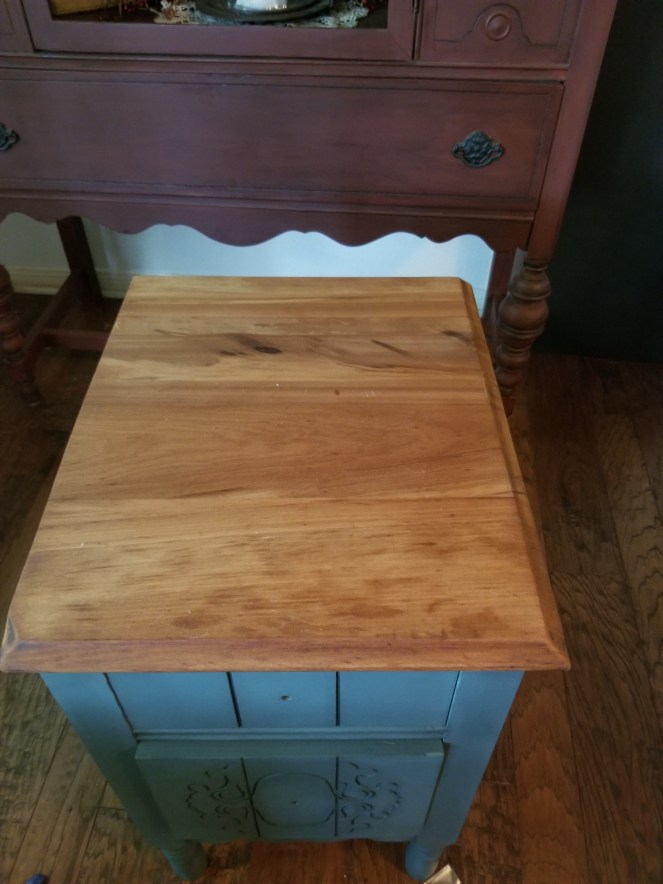
No. There is absolutely no need unless you want to. I’ve often sanded top surfaces back if I want to stain and have natural wood grain showing.
For me sanding looks like this:
If the piece is in good condition and the surface is even, it usually gets a light buffing to just rough the surface. I then clean well and paint.
Since I deal with lots of really old furniture the varnish is usually rough and flaking. It doesn’t take much to sand it off as it comes off easily. Again, I work off the old varnish to get a smooth even surface. Not all areas may require it.

At times I’ve gone back and sanded in areas after painting because I can see the uneven marks from varnish underneath. It makes me crazy to see a piece somewhere that’s been painted and obviously painted over a previous uneven finish.
Good prep work gives you a much more beautiful finished piece.
We all want to get to the fun part, painting. And prep isn’t always the most fun, but it is necessary.
If you’re using Dixie Belle products your steps would look like this:
Assess piece for repairs and sanding needs.
After sanding, clean well with our White Lightning cleaner. This removes dirt, grime, dust etc. Wash with clean water after.
Let dry well.
Use one of our problem solvers if necessary.
Boss will block stains and odors, our Slick Stick is good for shiny surfaces to help paint adhere well.
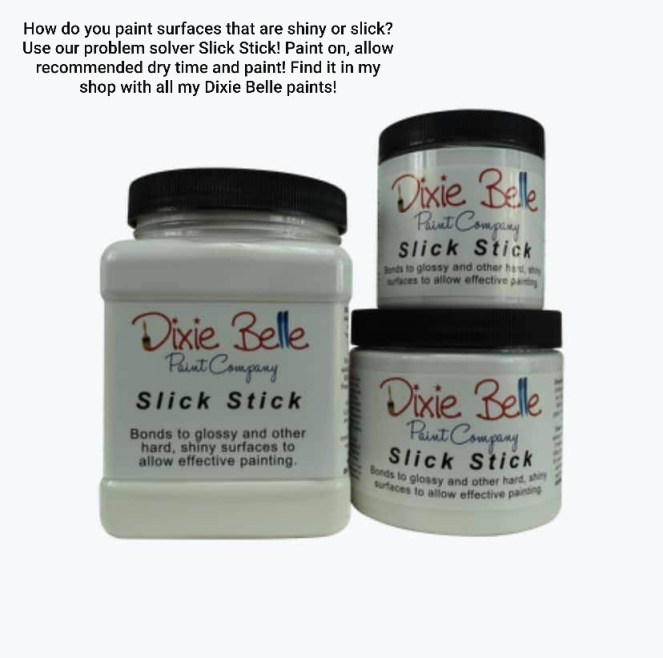
Follow directions if you use one of these products.
Once dry, the fun part, painting!
A little prep will go a long way in a piece that you will be proud of when you are done!
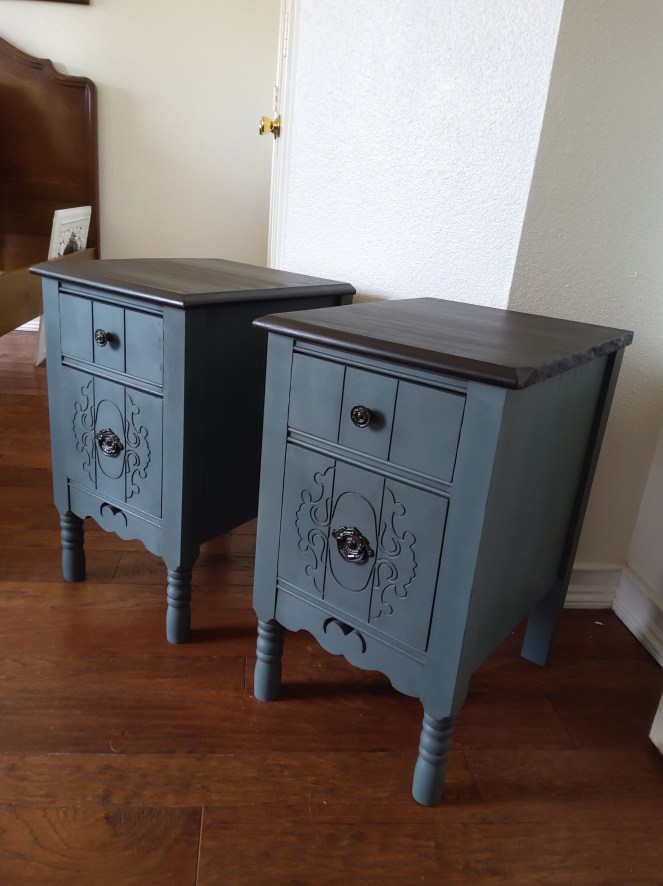
These night stands were painted in Dixie Belles “Stormy Seas”, the top received two coats of our No Pain Gel Stain in “Colonial Black ” , top was sealed with Satin finish and the body was clear waxed and then I played with details with black wax.
